


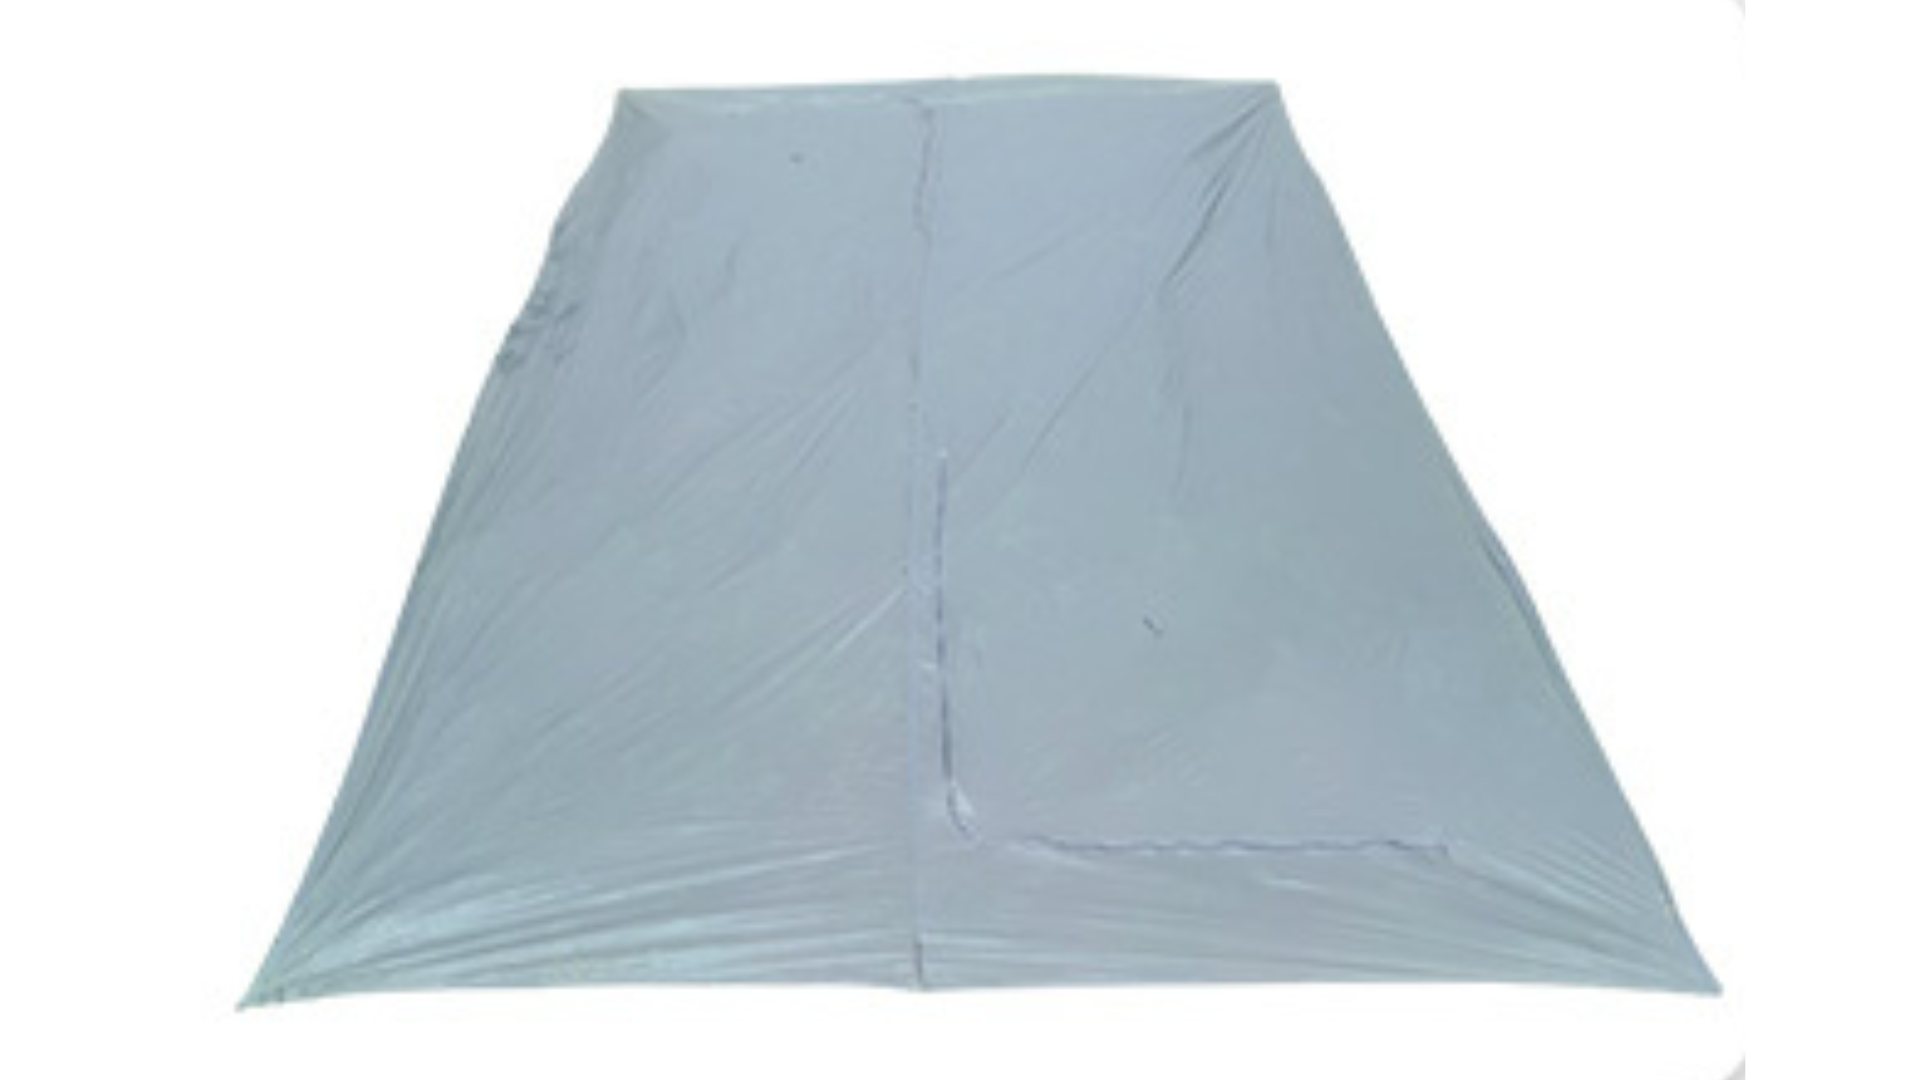
Comparative snapshot
Selecting a mountain tent for rapidly changing weather is a matter of trade-offs: protection, weight, pack volume and ease of setup. This piece compares common approaches across those vectors so you can align choices with real needs rather than marketing claims. For many setups, a dedicated waterproof flysheet changes the balance—adding targeted protection without rebuilding the whole shelter system.

Material comparisons and what they mean on the mountain
Silicone-treated nylon and PU-coated polyester dominate options. Silicone coatings improve tear resistance and maintain fabric elasticity at low temperatures; PU coatings cost less and resist abrasion differently. Breathability depends on tent design more than fabric label. Treat hydrostatic head numbers as directional: 1,500 mm often suffices for light showers, while multi-day storms benefit from 3,000 mm or higher. Do not equate higher numbers with overall performance; taped seams, reinforced stress points and quality zippers matter just as much.
Real-world anchor: field perspective
Guides who run extended routes in the Scottish Highlands repeatedly choose solutions that separate core shelter from outer protection, because shelters face wind-driven spray and abrasive vegetation. That practice is why a properly specified camping tent flysheet is often deployed as the first line of defense in those environments—it lets teams retain a light inner tent while relying on a tougher outer layer when conditions worsen. This recommendation reflects multi-season guiding experience and supplier durability data rather than a single lab result.
Design trade-offs: weight, setup, and storm performance
Freestanding tents simplify moves but add poles and weight. Semi-freestanding designs shed wind better when well-staked and allow lower profile pitching. A heavier flysheet adds grams but reduces risk of water ingress at vestibules. Prioritize guy points and a clean pitch angle; a lighter tent that’s poorly staked will outperform a heavier tent pitched badly. Fast, repeatable setup reduces exposure time during weather shifts—practice pitches at home until muscle memory is consistent.
Common mistakes and how to avoid them
Relying only on fabric spec sheets; neglecting seam sealing; ignoring vestibule drainage; and assuming a single shelter style fits every route are the most frequent errors. Seal seams after purchase and inspect seam tape around stress points. Route your guy lines to deflect wind rather than pull directly on zippers. If condensation is recurring, adjust ventilation before swapping shelters—adding small vents or loosening a vestibule tie-out often cures the issue.
Alternatives and when they make sense
Integrated full-coverage flysheets simplify packing and reduce setup steps, but they add weight and limit modular repair options. Separate flysheets or tarps offer modularity and faster field repair; they require more planning for attachment and rain shedding. Bivy sacks minimize weight but sacrifice living space and ventilation. Choose a system that matches typical trip length, remoteness, and the ability to carry spare parts or repair tape.

Conclusion: matching choice to exposure and mission
Compare protection, weight and repairability against the weather you expect and the team’s tolerance for complexity. For variable mountain weather, a robust flysheet paired with a livable inner tent gives the best balance of resilience and pack efficiency. Practical experience, tested details and straightforward design decisions lead to reliable outcomes, which is why professionals evaluating options often reference consolidated suppliers and sensible modular systems like those curated at THECATAL.